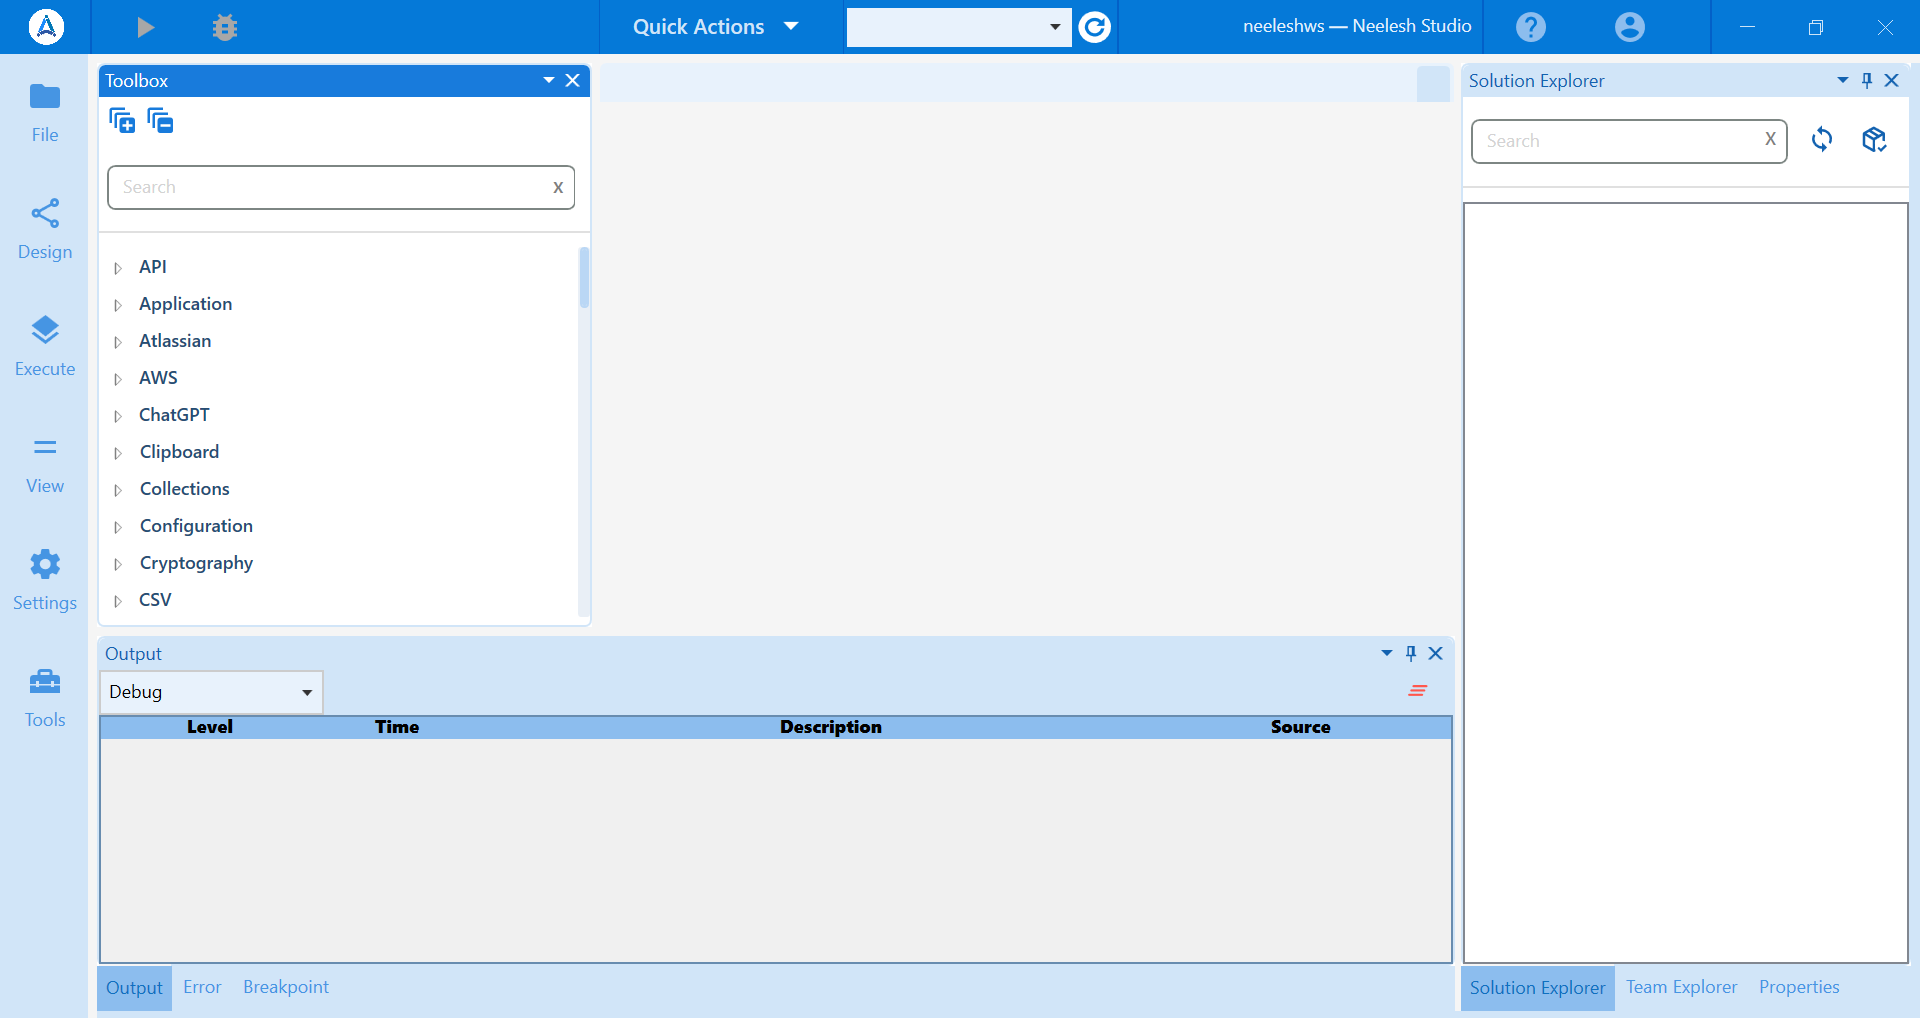
User Interface
Here's a detailed explanation of the tabs and available options in each tab within AutomatR Studio:

| Option | Description |
|---|---|
| File Tab | The File menu contains options related to opening, creating, saving, and managing projects and files.  |
| Open Project | This option allows you to open an existing automation project that you've previously created in AutomatR Studio. |
| Open File | You can use this option to open a single workflow file within a project without opening the entire project. |
| Open Repository | If you're using source control or Git integration, this option lets you open a project directly from a version control repository. |
| New Sequence | Creates a new sequence file within the current project. A sequence is a type of workflow that executes a set of activities in a specific order. |
| New Flowchart | This option lets you create a new flowchart file within the project. Flowcharts allow for more complex, visual representations of workflows with branching logic. |
| New Project | Use this option to create a new automation project from scratch. It opens a wizard to configure project settings. |
| Save | Saves the changes made to the currently open file or project. |
| Save All | Saves all open files and projects with unsaved changes. |
| Close Project | Closes the currently open project. Any unsaved changes will be prompted for saving. |
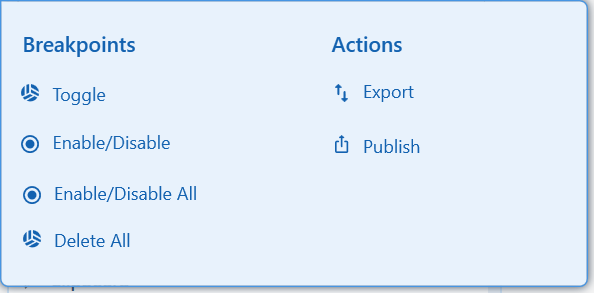
| Design Tab | The Design menu provides tools for designing and debugging workflows.  |
| Toggle Breakpoint | Allows you to set or remove a breakpoint on the selected activity. Breakpoints are used for debugging, allowing you to pause execution and inspect variables. |
| Enable/Disable Breakpoint | Toggles the breakpoint status of the selected activity. Disabled breakpoints won't pause the workflow during debugging. |
| Enable/Disable All Breakpoints | This option globally enables or disables all breakpoints in the workflow. |
| Delete All Breakpoints | Removes all breakpoints from the current workflow. |
| Export | Enables you to export a workflow as a reusable library or template that can be shared and reused in other projects. It genearate the .nupkg file which can be exported to the AutomatR Orchestrator. It is also useful for running projects with Attended/Unattended bots. |
| Publish | Publishes the current project to the AutomatR Orchestrator instance, only based on latest versions and making it available for execution by bots. |
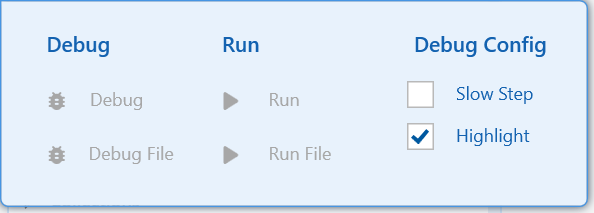
| Execute Tab | The Execute menu offers options for executing and debugging workflows.  |
| Debug | This option starts debugging the currently open workflow from the beginning. It allows you to step through the workflow one activity at a time, inspect variables, and pause execution at breakpoints for troubleshooting and debugging purposes. |
| Debug File | Similar to Debug, but it specifically starts debugging the currently open workflow file within the project, rather than the entire project. |
| Run | Executes the entire workflow from the beginning without pausing for debugging. This is used for regular workflow execution when you don't need to step through activities or inspect variables. Run is applicable for a project. You may have multiple workflows within the project, and those are supposed to be executed in some sequence. |
| Run File | Like Run, but it executes the currently open workflow file within the project, not the entire project. |
| Debug Config - Slow Step | Slow Step is a debugging mode that allows you to execute the workflow step by step, giving you better visibility into the execution process. |
| Debug Config - Highlight | Highlight mode doesn't pause execution but visually highlights the currently executing activity as it progresses through the workflow, making it easier to track the execution flow. |
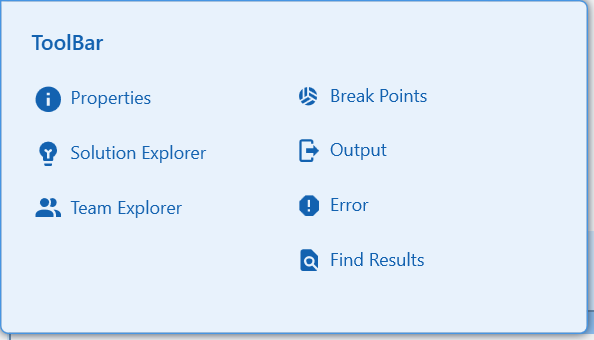
| View Tab | The View menu controls the visibility of various toolbars and panes in the UI.  |
| Properties ToolBar | Toggles the visibility of the Properties Toolbar. It displays properties and settings for the currently selected activity on the canvas. It allows you to configure the behavior of the selected activity, set input parameters, and customize its properties. |
| Solution Explorer ToolBar | Shows or hides the Solution Explorer Toolbar, which provides access to the project's files and resources. It allows you to manage files, folders, variables, and other project-related items, aiding in organization and navigation. |
| Team Explorer ToolBar | If you're using version control, this option displays or hides the Team Explorer Toolbar for managing source control operations. When no project is associated with Git, it will show option to Clone Git Repository or Create a git repository. However, when you have project in git and opened, then it will show git related actions available within team explorer. It provides options for checking in/out files, synchronizing with Git repository, and managing version control operations. |
| Break Points ToolBar | Toggles the visibility of the Breakpoints Toolbar, which allows you to manage breakpoints in your workflow. You can enable, disable, or delete breakpoints, control their behavior during debugging, and view a list of active breakpoints. |
| Output ToolBar | Shows or hides the Output Toolbar, which displays information about the execution of your workflow, including logs and debugging output. It shows execution progress, debug information, and log messages, aiding in troubleshooting and monitoring. |
| Error ToolBar | Toggles the Error Toolbar, which shows information about errors and exceptions encountered during workflow execution. It allows you to quickly access and review error details to facilitate debugging and error resolution. |
| Find Results ToolBar | Displays or hides the Find Results Toolbar, which is used when searching for specific activity, elements or text within your project. It displays search results, making it easier to locate and navigate to relevant project items. |
| Settings Tab | The Settings menu provides access to project-specific and configuration settings. |
| Project Settings | Opens the project settings dialog, where you can configure project-specific settings, including dependencies, target environments, and execution options. |
| Orchestrator Settings | This option allows you to configure the connection and settings related to your AutomatR Orchestrator instance. |
| Logs | Provides access to settings related to log file creation, including log level and output location. |
| Tools Tab | The Tools menu houses additional utilities and integrations. |
| Chrome Extensions | AutomatR offers browser extensions for Google Chrome, which provide additional capabilities for automating web applications. This option opens the Chrome Extensions page for installation and management. |
These options and settings within AutomatR Studio are crucial for managing your automation projects, designing workflows, debugging, and configuring project-specific details. Understanding how to use these features efficiently can significantly streamline the automation development process.